
Introduction
Achieving a smooth, even coat of paint on interior walls is both an art and a science. Whether you’re freshening up a single room or giving your entire home a new look, the right interior house painting techniques make all the difference. Many homeowners take on painting projects with high expectations, only to end up with uneven strokes, visible roller marks, or peeling patches. These issues often stem from skipping vital preparation steps or using the wrong tools. With a bit of planning and proper technique, you can transform your walls into beautifully painted surfaces that last for years. From surface prep to brush control, this guide covers everything you need to know to get professional-quality results.
1. Prepare the Surface Properly Before You Paint
Preparation is the foundation of any successful paint job. Start by removing nails, hooks, and any debris from the walls. Clean the surface using a mild detergent or sponge to eliminate dust, grease, and stains. Patching holes, sanding rough spots, and applying a quality primer are essential for a smooth finish. If your walls have previously been painted with a glossy finish, consider lightly sanding them to help the new paint adhere better. Skipping surface prep often leads to peeling and uneven coverage, so don’t underestimate this critical step.
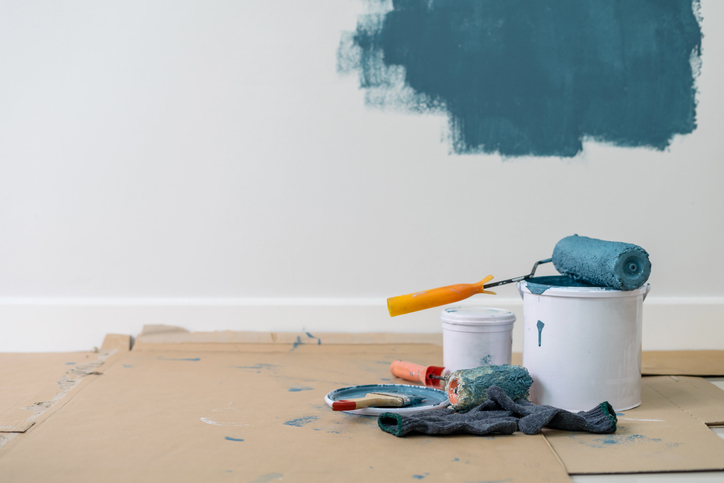
2. Choose the Right Tools for the Job
Quality brushes, rollers, and paint trays are essential for achieving professional-looking results. For smooth walls, opt for rollers with a shorter nap (3/8” or less), which lay down paint evenly without leaving texture. Angled brushes are perfect for cutting along edges and corners. Don’t forget painter’s tape to protect the trim and ceilings. Investing in the right tools reduces frustration and ensures consistent application. Also, clean tools between coats or color changes to maintain a neat finish throughout the project.
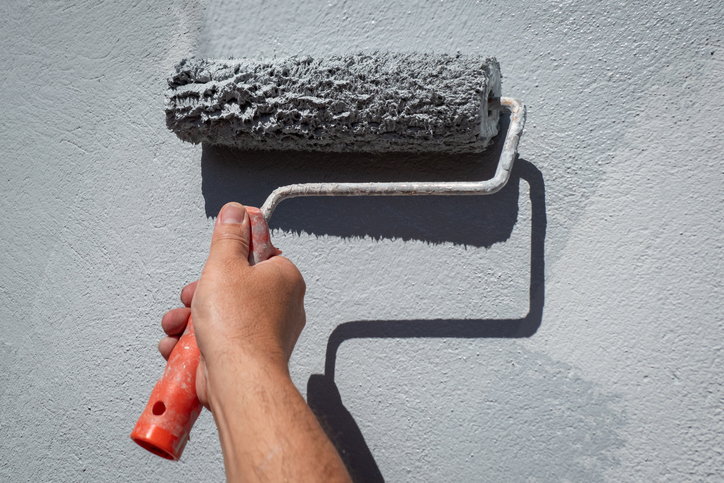
3. Use Proper Painting Techniques for Uniform Coverage
How you apply the paint matters just as much as the type of paint you choose. When using a roller, start in a “W” or “M” pattern to spread paint evenly before filling in the gaps with horizontal strokes. Maintain a wet edge by overlapping slightly into the last area you painted—this prevents streaks and lap marks. Avoid pressing too hard on the roller or brush, as this can create uneven areas or cause paint to drip. Work from top to bottom, especially when painting large wall sections. Let each coat dry completely before applying the next one to ensure smooth layering.
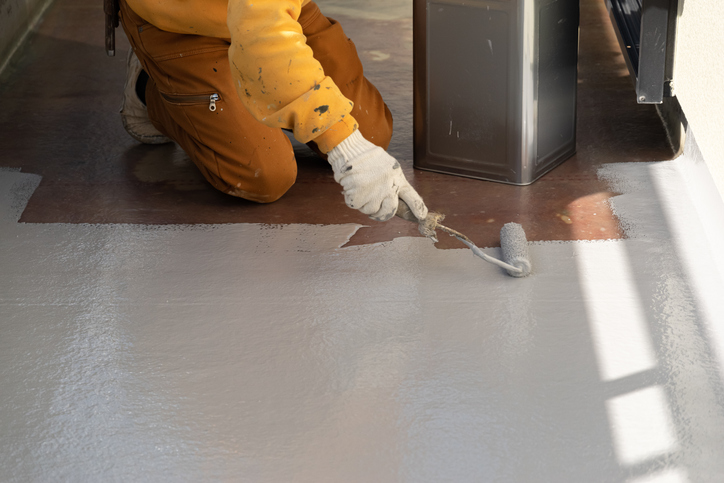
4. Apply Primer and Multiple Coats as Needed
Primer creates a uniform base that improves paint adhesion and ensures color consistency. This step is especially important when painting over dark colors, stained surfaces, or new drywall. Once primed, apply at least two coats of your chosen paint for a durable and vibrant finish. Use long, even strokes, and check the walls from different angles for missed spots. In some cases, a third coat may be necessary, particularly with lighter or more translucent shades. Allow adequate drying time between coats, and don’t rush the process to achieve optimal results.
5. Pay Attention to Lighting and Drying Conditions
Lighting dramatically affects how paint color appears and how well you can see imperfections while painting. Use natural daylight whenever possible or supplement with bright work lights to spot inconsistencies. Avoid painting in overly humid or cold conditions, as this can slow drying and lead to uneven finishes. Proper ventilation helps speed up drying and prevents fumes from lingering in your home. Position fans strategically and open windows when possible to promote air circulation. Monitoring temperature and moisture levels during and after application helps maintain a uniform coat.
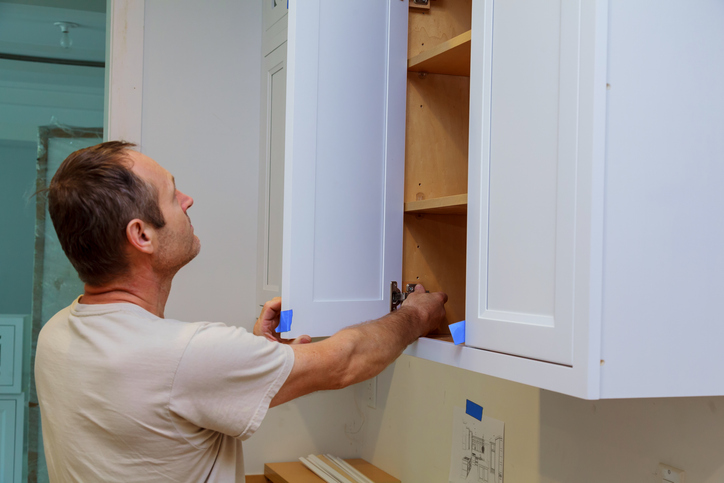
6. Don’t Skip Final Touch-Ups and Cleanup
After the final coat has dried, inspect the walls carefully for missed spots, drips, or roller marks. Use a small brush to fix imperfections and ensure the edges and corners are crisp and clean. Remove painter’s tape carefully to avoid pulling off fresh paint, and touch up any areas where the tape may have caused damage. Clean your brushes and rollers with warm, soapy water if using latex paint or with mineral spirits for oil-based products. Properly stored tools can be reused in future projects, saving time and money. Finally, dispose of leftover paint responsibly or save it for touch-ups down the line.
Interior house painting can be a rewarding project when done right. By preparing surfaces, selecting the right tools, and applying paint using consistent techniques, you can achieve a smooth, even coat that enhances the look and feel of any room. Understanding how lighting, temperature, and primer affect the final results gives you greater control over your project’s outcome. While rushing may be tempting, taking the time to follow these best practices will yield a professional-quality finish and long-lasting results. Whether you’re repainting a single accent wall or tackling a whole-home refresh, the right techniques make all the difference. With a bit of patience and precision, you can transform your interior spaces with confidence.
Conclusion
Enhance your home with expert Interior House Painting by Noel Painting Services. For flawless results and lasting beauty, Connect with our professionals at (813) 406-3196 today and experience the difference of professional care.